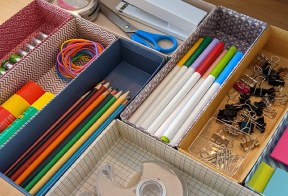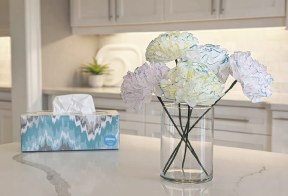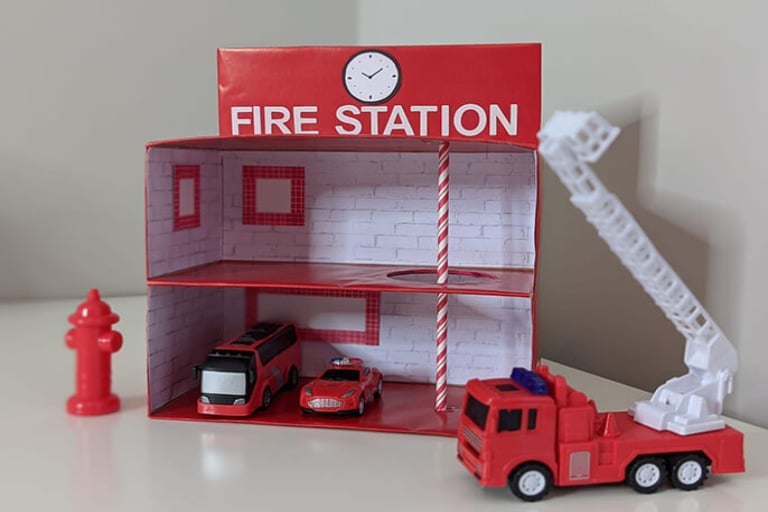
Children have amazing imaginations. They can turn cardboard boxes into castles or flowers into crowns, and Kleenex® tissue boxes are no exception. When you buy Canada’s #1 facial tissue brand, Kleenex® facial tissues, you’re not only getting a great everyday tissue, you're getting a box that’s full of possibilities. A Kleenex® tissue box is a staple for the craft box, that allows you to create endless activities with your children, not only providing entertainment but helping with development and motor skills.
What kid doesn't love playing with boxes? Even in the toddler years, boxes can be a source of imaginative and creative play. A simple box can become anything from a car on a racetrack to a space station in the sky. When you have a few empty Kleenex® tissue boxes lying around, you can even turn them into creative buildings that are ready for playtime. The tissue box craft ideas are endless!
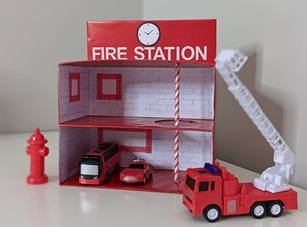
Firemen and women are real life heroes and pretending to be one can lead to hours of imaginative play. No phone, videogame or TV is needed. All you need is some Kleenex® tissue boxes and craft supplies you likely already have at home. Before you know it, they will be laughing and learning with their upcycled Kleenex® tissue box fire station, and you will be rejoicing in your parenting win.
The Supplies You’ll Need for this DIY Project:
- Two empty boxes of Kleenex® Trusted Care® Facial Tissues
- Red wrapping paper or construction paper
- Scissors (adult use only)
- Utility knife (adult use only)
- Transparent tape
- Glue
- Marker
- Washi tape
- White paper, one sheet
- Black paper, one sheet
- White brick decorative paper, two 12” x 12” sheets
- White adhesive letters
- Paper straw
How to Build a Fire Station Playhouse with Kleenex® Tissue Boxes
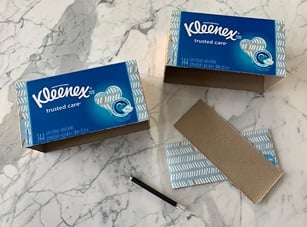
Step 2. Draw a circle in the top of one Kleenex® tissues box and the bottom of the other Kleenex® tissues box. Make sure the circles will line up when the boxes are stacked. Cut and remove the circles using the utility knife.
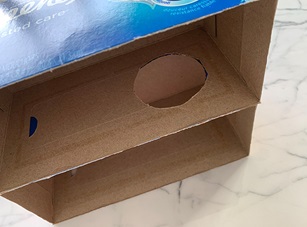
Step 3. Tape the two boxes together, all the way around
Step 4. Cut a strip of red paper that will wrap all the way around the sides of the box. Measure it with an extra 0.5 cm on the top and two sides in order to tuck and tape the paper around the corners and at the top.
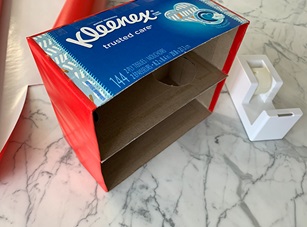
Step 5. Measure the top of the box, and cut five pieces of red paper to size. Cut the same circle as Step 2 in two of the pieces of red paper. Tape all five pieces of paper in place. They will cover the ground (x2), ceiling (x 2 with a hole), and roof (x 1) of the fire station.
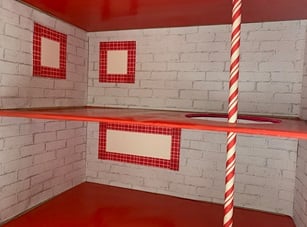
Step 6. Measure the interior wall dimensions and cut six pieces of white brick paper to size: 4 x side wall, 2 x back wall.
Step 7. Tape the interior walls in place.
Step 8. Cut the straw so it’s the same height as the interior of both boxes.
Step 9. Cut white paper into windows and border each window with decorative washi tape.
Step 10. Tape the windows in place and use glue to attach the straw in the center of the hole.
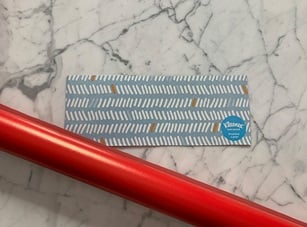
Step 11. Wrap the cardboard panel from Step 1 in red paper.
Step 12. To make the clock, cut a circle out of black paper, and a slightly smaller circle out of white paper. Tape the two together, and use a marker to draw a clock face on the white paper.
Step 13. Tape the clock onto the individual red panel, and use the adhesive letters to spell “Fire station”.
Step 14. Tape the red panel to the top back of the fire station.
